ADIM 2: ASTAR
Artık cildiniz iyice nemlendiğine göre, yüzünüzü astar ile hazırlayın. Hafif bir makyaj ya da ağır bir makyaj yapmayı planlıyorsanız, astar önemli bir ilk adımdır. Makyajınızın altına astar kullanmak, görünümünüzü daha uzun süre kalıcı hale getirecektir.
Peki astar tam olarak nedir? Astarı fondoteniniz veya yüz makyajınız için daha pürüzsüz ve daha uzun süre dayanmasına yardımcı olacak bir temel olarak düşünün. Primerler, yüzünüzdeki çizgileri ve gözenekleri dolduran, pürüzlü dokuları düzelten ve makyajınız için ideal tuvali oluşturan ipeksi pürüzsüz jeller ve kremlerdir.
Astarınızı uygulamak için parmak uçlarınız, tercih ettiğiniz makyaj fırçası veya süngerinize az miktarda sıkarak başlayın.
*Profesyonel İpucu: Yüzünüzün ortasına kuruş büyüklüğünde bir astar ile başlayın ve yavaşça yanaklarınıza, alnınıza ve çenenize doğru uygulayın.
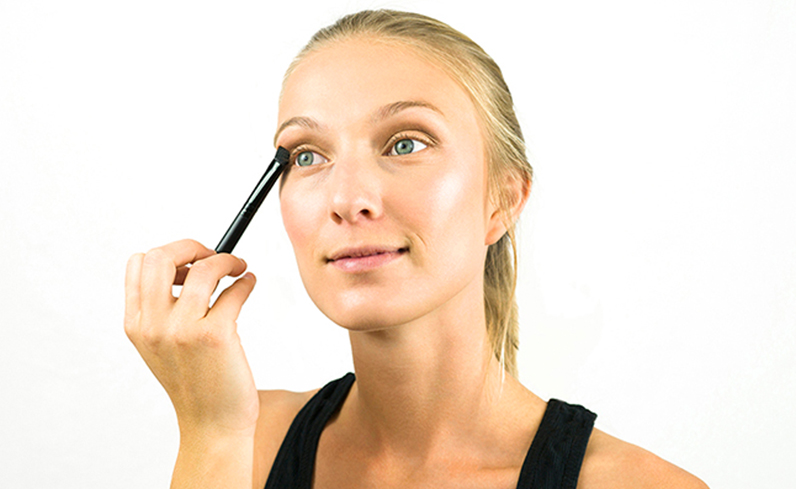
Göz kapaklarınızın etrafındaki hassas cilde astar uygulamak (ve o dumanlı gözün gün boyu profesyonelce uygulanmış görünmesini sağlamak) istiyorsanız, yüzün bu bölgesi için özel bir ürün bulduğunuzdan emin olun. Göz kapaklarımız gün boyunca yağ toplayarak göz farında “kırışık” bir görünüme neden olabilir. Göz kapaklarınız yağlıysa, astarsız göz farı veya eyeliner uygularsanız uygulama düzensiz olabilir.